Bored of the current steam skin? Need a little something to spice things up? Check out these cool custom made steam skins to change the default User Interface. Installation is easy too. Just follow these simple steps;
- Extract the downloaded skin folder or copy and paste it into C:\Program Files (x86)\Steam\skins\ or wherever you installed Steam
- Install the fonts – copy the fonts and paste it into C:\Windows\Fonts, skip this step if your skin doesn’t have any special fonts
- Go to the Steam UI. On the top menu, select Steam –> Settings–> Interface and select the skin that you would like to use. Enable Direct Write. Press OK.
- Restart Steam
PixelVision - by Pulseh
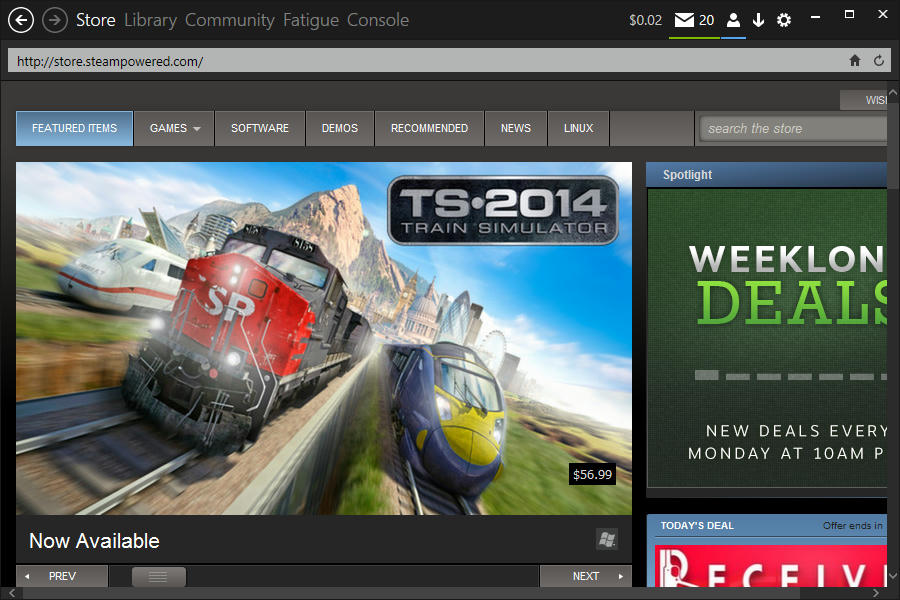
Metro - by BoneyardBrew
Air - by Inhibitor

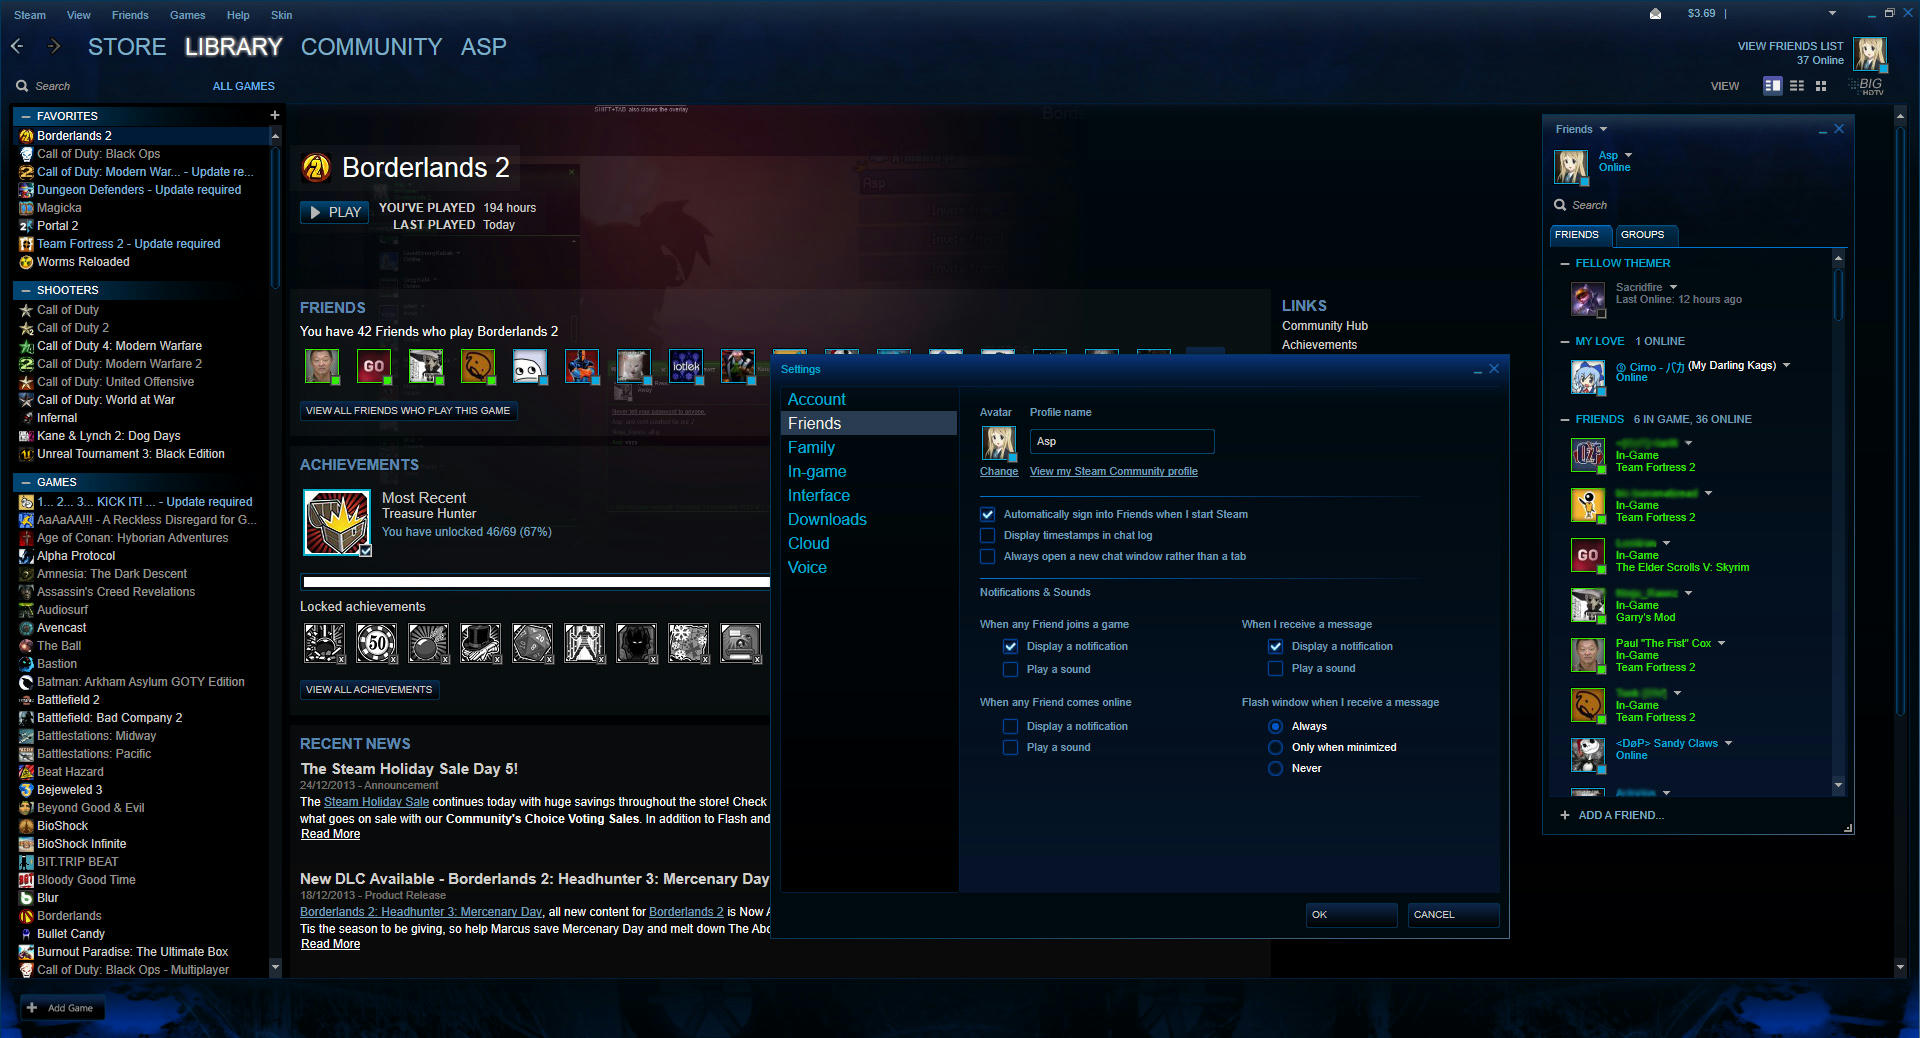
Blue Pulse - by Asphira